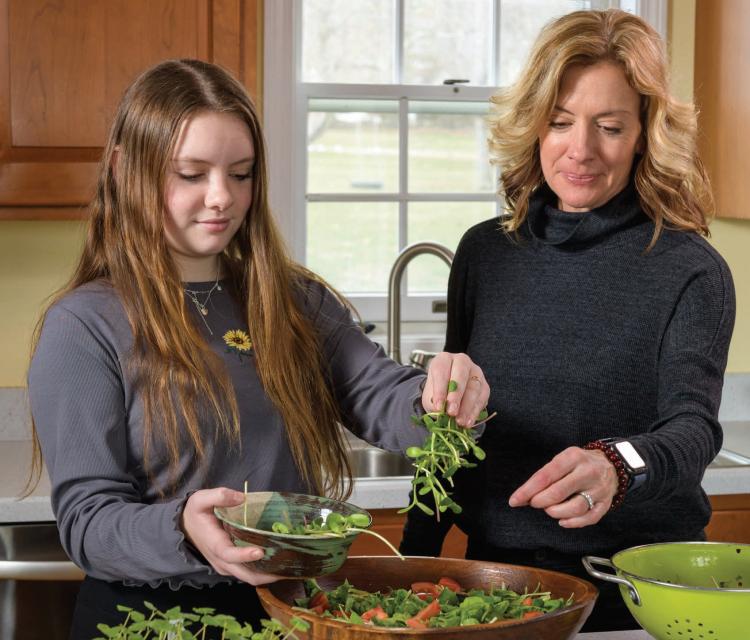
Melissa
Ayotte and her daughter Angie add fresh microgreen sprouts to their
salad bowl. “They make the usual grocery store greens seem rather
subpar,” says Melissa, who enjoys having salad every night.It has been a long winter,
and by now, we are all craving truly fresh, homegrown greens. It will be
a while before we can start planting outdoors, but in the meantime, it
is easy to grow your own indoor salad garden, producing nutritious
microgreen sprouts to enhance your meals as we look forward to spring.
Last
March when COVID-19 hit, Dick McNamara of Hillsborough started growing
microgreen sprouts to add a healthy, flavorful punch to his family’s
meals while minimizing trips to the store.
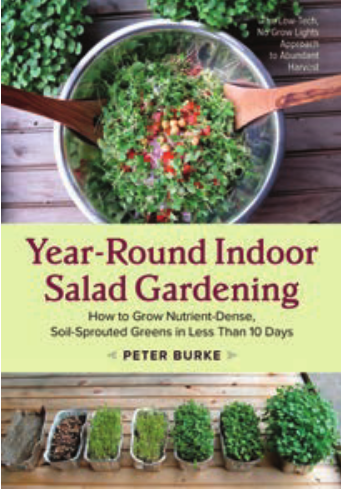
“Two
years ago, Vermont Public Radio had an interview with author Peter
Burke about his book ‘Year-Round Indoor Salad Gardening.’ It sounded
interesting, so I bought a copy of the book and set it aside,” McNamara
says. “Then COVID showed up, and I thought it would be perfect to have
some greens growing.”
Last
year, getting seed was challenging since everyone wanted to start a
garden, but McNamara was able to source enough organic and untreated
seeds locally and through mail order to grow a steady supply of
microgreen sprouts from March into June. When the lettuces and other
greens in his outdoor raised beds started to produce, he put microgreen
growing aside. In late fall, after the garden was put to bed, he
actually looked forward to starting up his indoor garden again.
Sprouting up
By
following the detailed instructions in Burke’s book, McNamara has had
great success growing his greens. “I am not much of a gardener,” he
admits, “but growing these greens has been incredibly easy.”
This
is a very low-tech, low-input endeavor that does not require a large
investment to get up and running. To start, you need individual cups for
soaking the seeks and a bag for soaking the soil. For planting, you
need watertight containers; no drainage holes needed. McNamara uses
aluminum loaf pans, but shallow ceramic bowls will work as well. For
soil, a fluffy germination mix of peat moss,
perlite and vermiculite is recommended. Compost and liquid sea kelp are
needed for fertilizing. Of course, you’ll also need some seeds; peas,
sunflower, broccoli, lentil or kohlrabi are good options. Lastly,
newspaper or paper towels are used to cover the seeds while they sprout.
Here are the steps:
•
Using a separate cup for each variety of seeds, cover the seeds with
plenty of water and let them soak for a minimum of 6 hours.
•
Scoop the soil mix into a gallon-size zip-close bag and add 4 cups of
water. Set the bag aside and let the soil soak overnight.
•
The next day, add 1 tablespoon of the compost and ½ teaspoon of the
kelp in the bottom of each planting container. Then add the moistened
soil, filling to within ¼ inch of the top.
• Drain the seeds and spread them evenly over the soil.
• Cover the seeds with wet newspaper or paper towels, pressing down the seeds so they make good contact with the soil.
• Put the covered containers in a warm, dark place for four days. If the paper covering starts to look dry, mist it with water.
•
On the fifth day, remove the paper covers. The shoots will be about
1-inch tall. Carefully water them, and move the planting container to a
sunny windowsill.
• Check for water once daily, adding only 2-4 tablespoons if needed. Brush off loose seed hulls.
• After three or four days in the sun, your greens are ready to harvest. Snip with scissors near the soil line.
• Wash the greens when you’re ready to eat them, removing any wayward soil or seed hulls.
Eats shoots and leaves
Although
you can cook some microgreen sprouts like sunflower, adzuki, lentil,
broccoli or pea shoots in a stir fry, the McNamaras prefer to eat theirs
raw. “We have them in salads, and they are great on avocado toast,” he
says. “My wife likes the pea shoots, and the radish sprouts are really
good. Broccoli has a nice flavor to it, and buckwheat germinates well
and has a good flavor. Popcorn was interesting. It grew well, made more
sprout than leaf and was extremely sweet.”
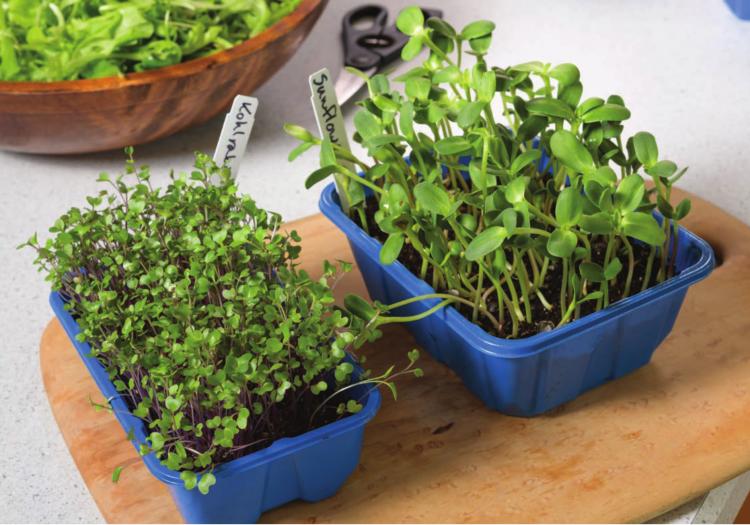
Sunflower sprouts add a nutty flavored crunch while purple kohlrabi contributes colorful stems. Both are packed with nutrients.
A
retired high school science teacher, McNamara also worked as a
nutritional counselor before moving to New Hampshire 10 years ago. “I
was always working on getting my clients to eat more greens, and the sprout is even more dense in nutrition than the full-grown plant,” he explains.
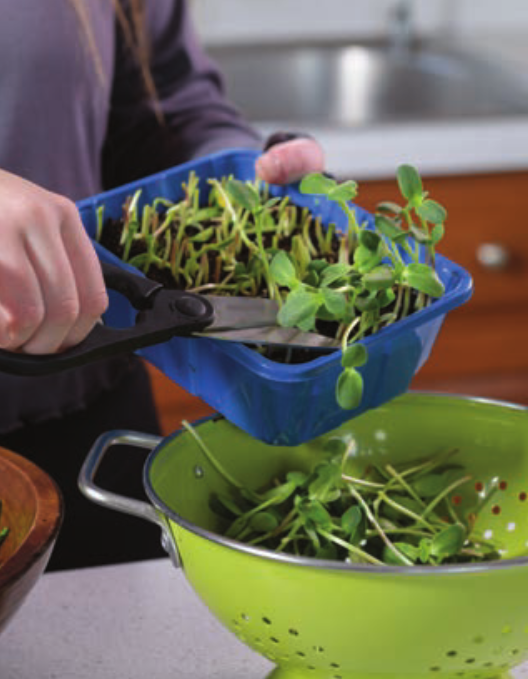
A quick snip, brief rinse and your sprouts are ready to eat in minutes. It doesn’t get much fresher than this.
McNamara
enjoys the ability to have a really fresh product. “The quality of
greens is related to the time from picking to eating. Often, I cut the
greens and put them right on my plate to eat. No travel time coming from
the Central Valley of California and then sitting in the veggie cooler
in your supermarket.”
Your
microgreen sprouts can be a garnish or an addition to other salad
greens, adding flavor, color, texture and crunch. They are one of the
easiest edibles you can grow and are always in season. NHH
What’s the difference between sprouts, shoots, microgreens and baby greens?
They are very similar, and the terms are sometimes used interchangeably. The main difference is the time of harvest.
•
Sprouts can be grown just by keeping seeds moist—no soil needed. After
germination, which only takes a few days, the whole sprout is
eaten—roots and all.
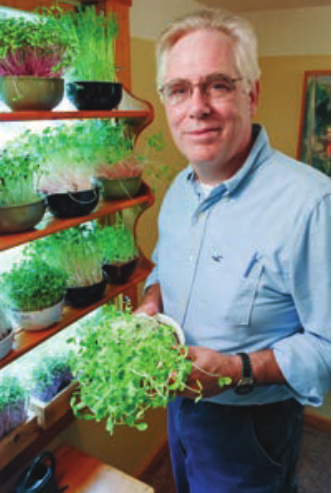
Author Peter Burke grows a constant supply of greens at his Vermont home.
•
Soil-grown sprouts, often called shoots or microgreen sprouts, are
grown in soil. They are eaten when the first seed leaves or cotyledons
open. This takes between seven and 10 days.
•
A microgreen is a seedling of an edible plant. It can be grown in soil
or hydroponically. After germinating, it is allowed to grow until the
first true leaves appear, then it is cut to eat. The whole process takes
between 10 and 25 days.
• Baby greens are a wide
variety of leafy edible plants that are harvested after the leaves have
reached a larger size than the microgreens, between 3 and 6 inches.
Depending on the crop, it can take between 3 and 5 weeks after
germination to reach a harvestable size. If cut carefully, the plant
will continue to send up more leaves.
RESOURCES
“Year-Round Indoor Salad Gardening” Peter Burke • the-daily-gardener.com
Johnny’s Selected Seeds • (877) 564-6697 johnnyseeds.com