Celebrations Call for Cake

Skip the store-bought version and make your own.
Cake, big and small, elegant and homey, dramatic and simple, is the iconic and universally recognized symbol of sharing and expressing happiness for life’s important milestones.
My mother was a prolific baker who used every excuse to make cakes. Her weekly ritual was to make sponge or chiffon cakes to celebrate Sunday dinner. Her kitchen pantry had a large assortment of well-used cake pans, tube pans, Bundt cake pans, pound cake pans, jellyroll pans and fruitcake pans. When I announced a friend was getting married, she made a four-tier wedding cake. Mom was so caught up in baking cakes that she bought flour in 25-pound bags and stored it in big, tin bins. It was nothing for her to go through all that flour in no time.
I used to watch some of the tricks she used when baking; for instance, she recycled the butter wrappers and used them to grease the pans. If she was making a chocolate cake, she used cocoa powder to dust the pan so no white flour would spoil the look of the cake.
Serving a store-bought cake was just unthinkable, even worse was “making” a cake from a box mix. This led to a feeling of intimidation from many of her friends, but to Mom, it was just what she liked to do.
When I have the urge to bake, I pull out my mother’s wooden recipe box and ramble through the hundreds of cards smudged with butter stains and splatters.
Some of these cards have notes commenting on whether she would make the cake again, substitute some other flavoring, or add more or less sugar. Reading them, I can almost smell and taste those cakes.
But more importantly, the cards are a walk down memory lane, a time capsule that preserves life experiences in a simpler time.
I still make many of her trusted cakes, but I also have moved on to my own take on cake. While I make a lot of scratch cakes, like pound cake, I don’t mind “making” an angel-food cake from a mix. I am sure Mom would wonder what got into me, using scented geranium leaves in a rich butter cake. I am also sure she would say that a slice of life is enjoying a piece cake now and then. So for whatever the reason, make a cake and eat it, too.

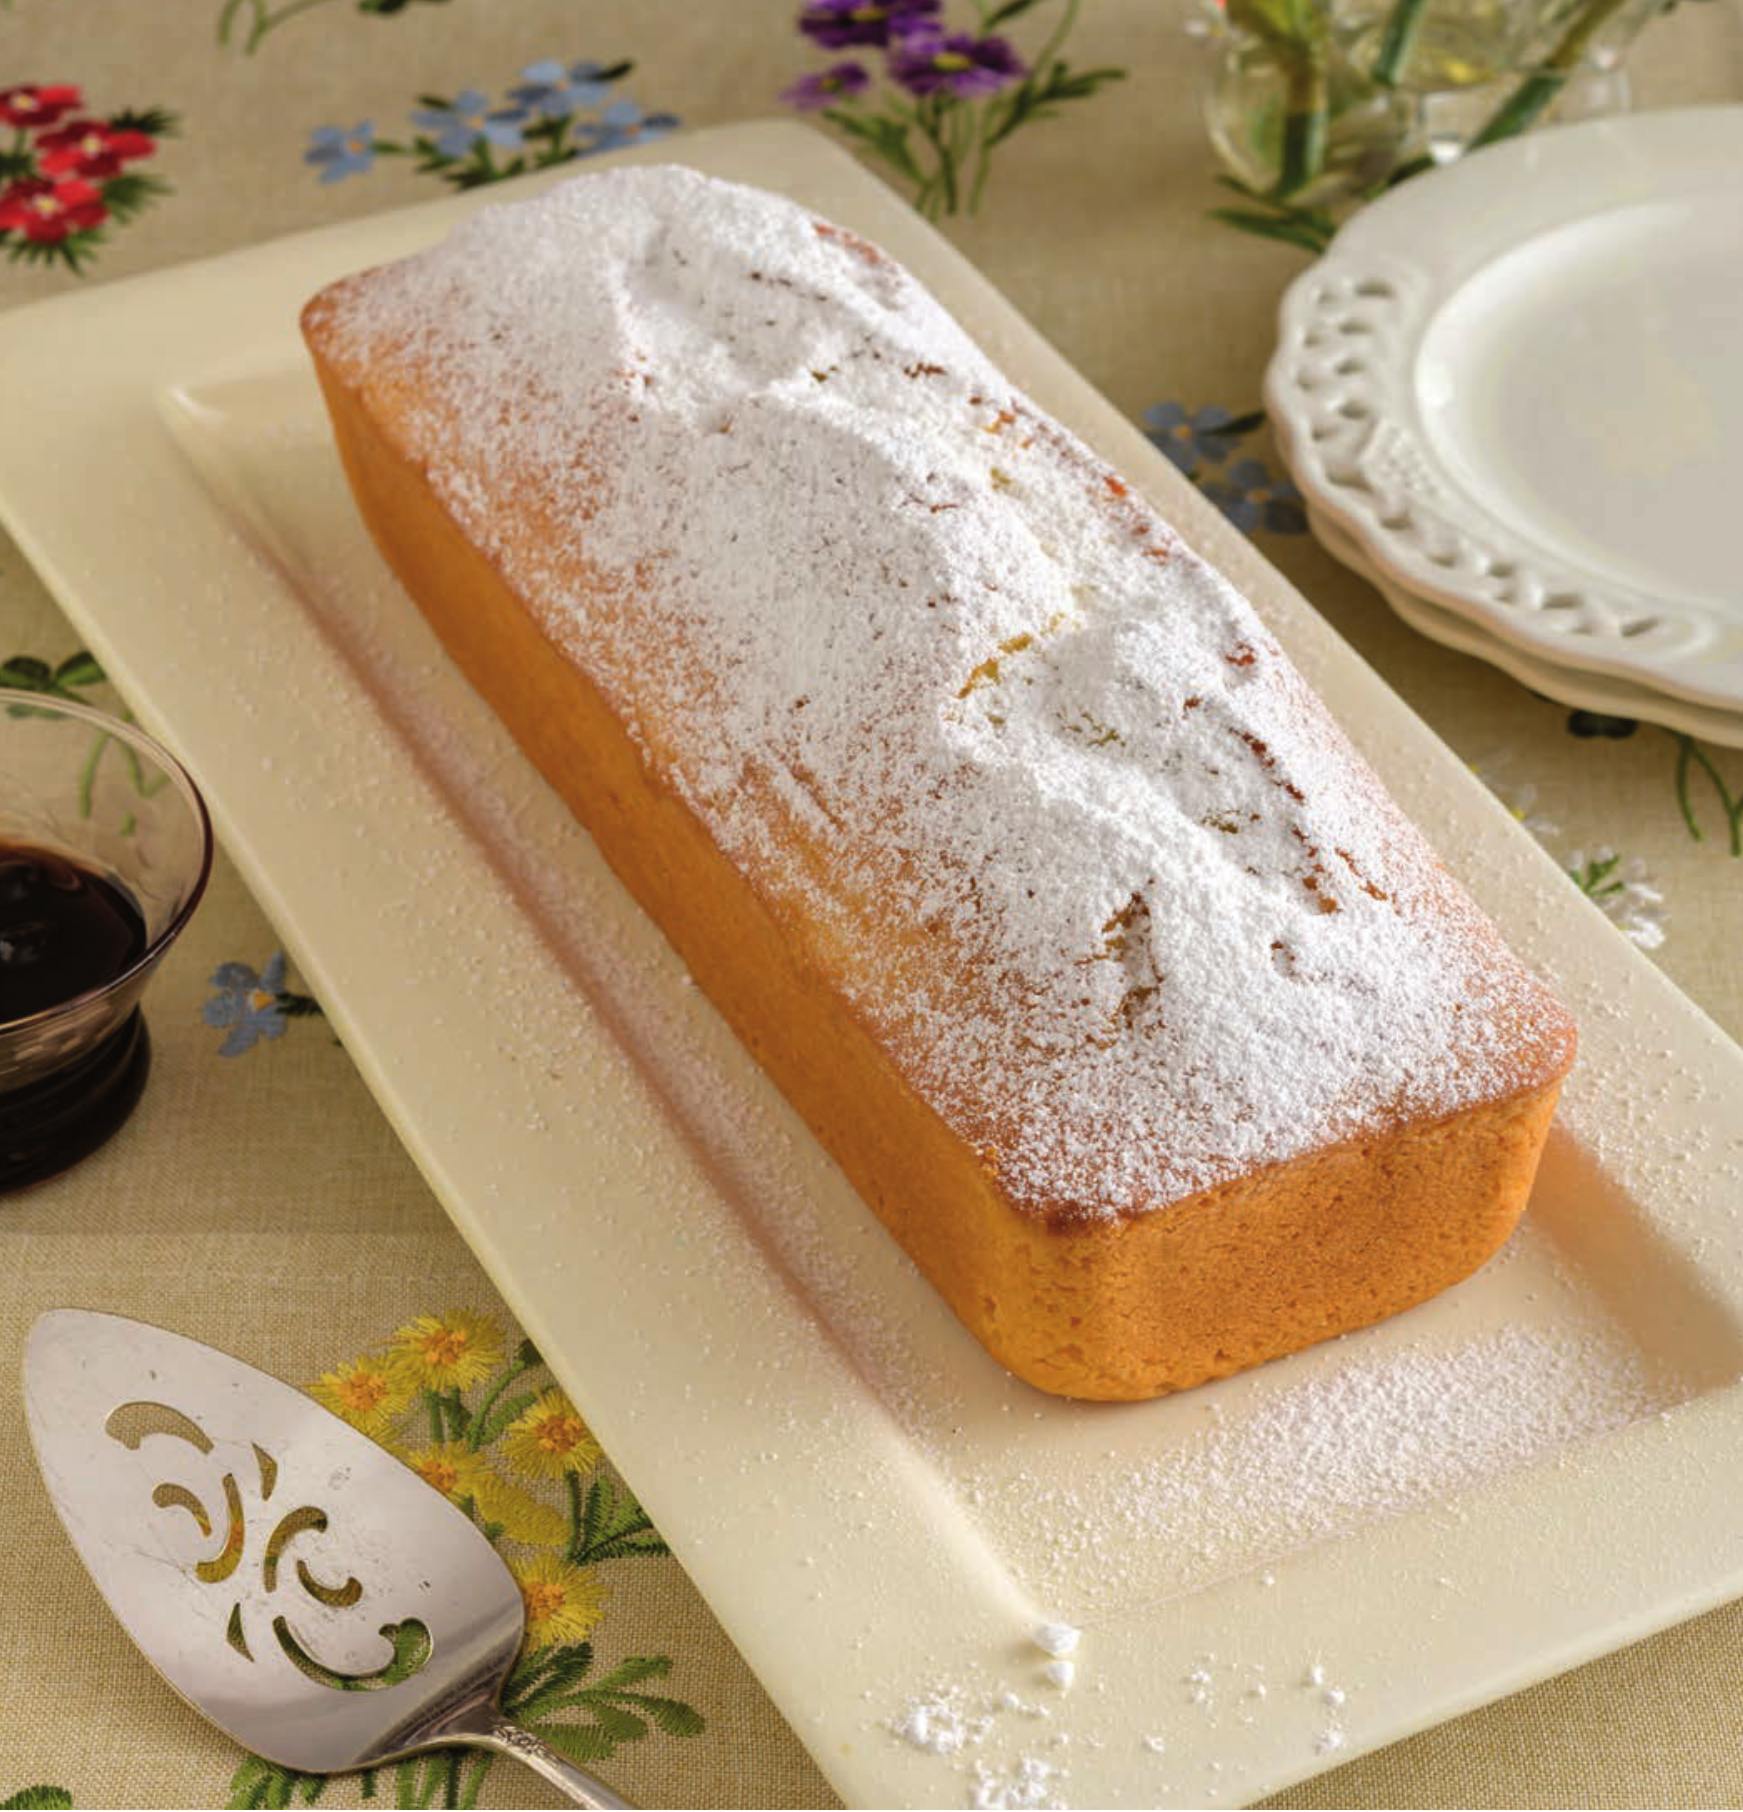
Lemon-Loaf Tea Cake SERVES 8–10
My mom always had pound cake on hand. She made vanilla-flavored and chocolate-flavored ones. I still have the battered-looking loaf pans she used for baking. And while the cake did not have the all-the-bells-and-whistles appearance of other cakes, it had its merits. Perfect with tea, jam and fresh fruit, it often was the just-right nonfussy cake we all loved. This lemon-loaf tea cake has an interesting texture; when I make it, it reminds me of Mom’s pound cakes.
Butter, for greasing the pan
2½ cups all-purpose flour, plus more for dusting the pan
3 eggs at room temperature
1¼ cups sugar
½ cup sunflower oil
1/3 cup water
3 tablespoons fresh lemon juice, plus zest
¾ cup cornstarch
1 tablespoon baking powder
½ teaspoon salt
Powdered sugar or lemon glaze, for topping the cake
1. Butter and flour a 12-inch-by-4-inch-by-2-inch loaf or similar pan, and set it aside. Preheat oven to 350ºF.
2. In a large bowl, whip together the eggs, sugar, oil, water, and lemon juice and zest.
3. In a separate bowl, sift together 2½ cups of flour, the cornstarch, the baking powder and the salt.
4. A little at a time, beat the dry ingredients into the wet ingredients until well combined. Scrape the batter into the pan, and bake for about 55 minutes or until the cake is golden brown and a cake tester inserted into the center of the cake comes out clean. Transfer the cake to a cooling rack and cool completely.
5. Dust with powdered sugar, or make a lemon glaze to drizzle over the top of the cake.
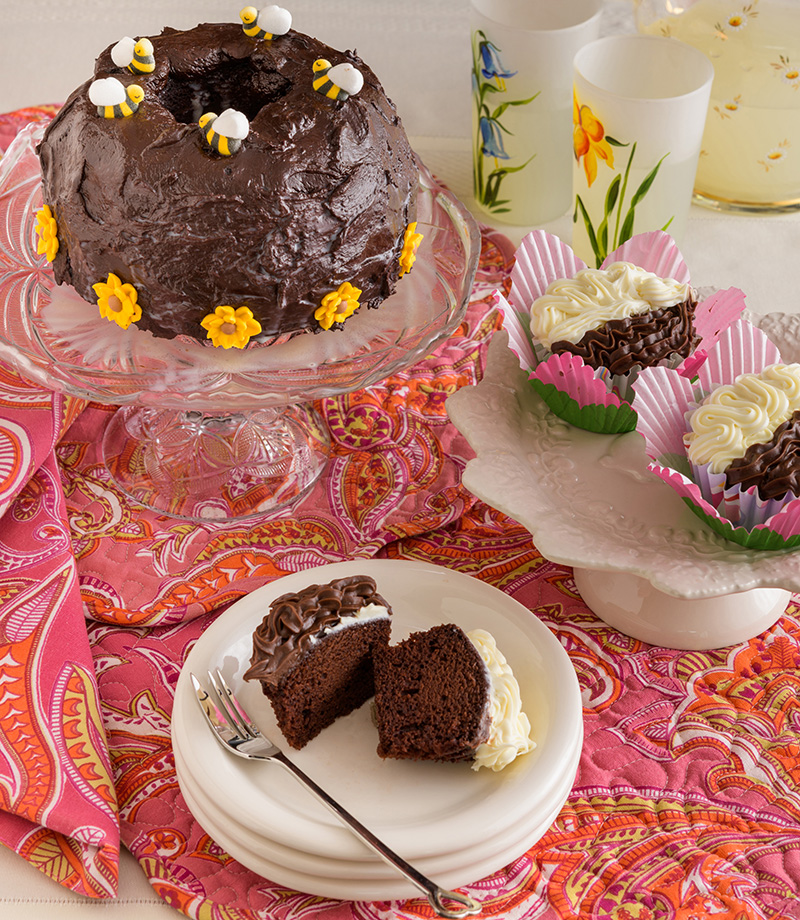
Chocolate Olive-oil Cake With Chocolate Ganache SERVES 8
Sometimes a whole cake is just too much and winds up going stale, but not to worry—this super moist and dense chocolate cake, made with olive oil, can be made in cupcake size or in smaller cake pans. The beauty of this is that you get two cakes from one batter! One to enjoy now, and one to freeze for up to three months. Bump up the elegance of this cake by making a chocolate ganache glaze, dust the cake with powdered sugar, or use your favorite frosting.
Butter, for greasing the pan
3 cups unbleached all-purpose flour
2 cups sugar
6 tablespoons baking cocoa
2 teaspoons baking soda
½ teaspoon salt
3/4 cup light olive oil
2 tablespoons white vinegar
2 cups cold water
6 ounces bittersweet chocolate, chopped
½ cup heavy cream
1 tablespoon vanilla extract
1. Butter a 9-inch-by-1½-inch cake pan, line the bottom with buttered parchment paper and set aside. (You can also use smaller-size cake pans—i.e., 6½-inch-by-3½-inch— or disposable cake pans or molds.) Preheat the oven to 350ºF.
2. Mix the flour, sugar, cocoa, baking soda and salt in a large bowl. With a hand mixer on low speed, beat in the olive oil, vinegar, vanilla and water until smooth. Pour the mixture into the prepared pan(s). Bake the cake for 30–35 minutes or until a cake skewer inserted into the center of the cake comes out clean. Do not over-bake the cake. Cool on a wire rack.
3. Place the chopped chocolate into a medium bowl and set aside. Heat the cream in a small saucepan over medium heat just until the cream starts to form small bubbles at the edge of the pan. Pour the cream over the chocolate and stir until well blended. Cool for 5 minutes.
4. Place the cake on a serving dish, and pour the ganache over top, allowing the excess to drip down the sides.

For cupcakes:
Follow the same recipe, and bake for 12–14 minutes or until a cake skewer inserted in the center of the cupcakes comes out clean. Place the cupcake tins on cooling racks. Yields about 1½–2 dozen.
To freeze:
Wrap the unfrosted cake well in freezer paper (wrap cupcakes individually) and place in plastic bags.
Lemon-Scented Geranium Cake MAKES ONE 9-INCH CAKE; SERVES 8–10
Perfumed and lush, scented geraniums are the inspiration for this cake that is not only gorgeous to look at, it is also incredibly moist. Greenhouses carry all kinds of scented geraniums, and the leaves can be used to make a decorative pattern for the top of the cake. Scented geranium leaves are edible, and used for everything from potpourri to flavoring jams, drinks and puddings. Snip some of the leaves, and mix them into the cake batter.
9 whole, rinsed and dried lemon geranium leaves, stems removed
1 cup unsalted butter, softened
1¾ cups sugar
4 eggs, separated and at room temperature
1 tablespoon fresh lemon juice
1 cup milk
3 cups unbleached, all-purpose flour
1 teaspoon salt
3 teaspoons baking powder
1 tablespoon fresh grated lemon zest
Powdered sugar, for dusting the cake
1. Preheat the oven to 350ºF. Position the oven rack to the middle slot. Coat a 9-inch-by-2-inch deep, round cake pan with baking spray or butter spray. Use a piece of parchment paper to line the bottom of the pan. Spray the parchment paper.
2. Position 6 or 7 geranium leaves face side down in the base of the pan. Set the pan aside. Mince the remaining leaves very fine and set them aside.
3. In a large bowl, cream the butter and sugar with an electric mixer until smooth. Beat in the egg yolks one at a time, and blend well. Beat in the lemon juice. On low speed, beat in the milk. The batter will look curdled but will smooth out.
4. On a sheet of wax paper, sift together the flour, salt and baking powder. Using the mixer on low speed, add the flour mixture to the butter mixture 1 cup at a time.
5. By hand, stir in the lemon zest and the minced geranium leaves. Set the batter aside.
6. In a clean bowl with clean beaters, whip the egg whites until they are soft and shiny with soft, not stiff peaks. With a rubber spatula, fold the egg whites into the batter.
7. Slowly pour the batter over the geranium leaves in the cake pan, smoothing out the batter as you go.
8. Bake until the cake is golden brown and a cake skewer inserted into the center comes out clean.
9. Cool the cake on a cake rack for 30 minutes. Run a butter knife around the inside edge of the cake pan to loosen the cake, then invert it onto a cooling rack to cool completely.
10. Dust the cake with powdered sugar, and cut into wedges to serve.
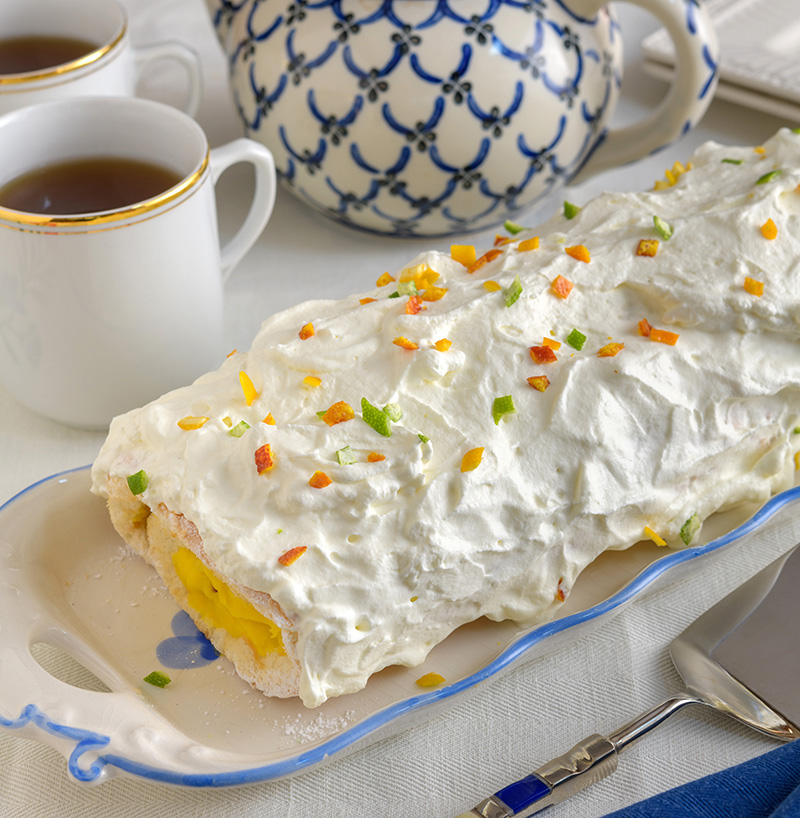
Angel-Food-Cake Roll With Citrus Curd SERVES 8
This impressive, light-tasting cake with a refreshing and tangy citrus-curd filling begins with a boxed angel-food-cake mix, and it is heavenly.
1 box angel-food-cake mix
Powdered sugar
Citrus Curd
Raspberries
1. Preheat the oven to 350ºF. Line a 15-inch-by-12½-inch rimmed baking sheet with parchment paper. Set it aside.
2. Follow the package directions for making the angel-food cake. Spread the batter onto the parchment paper, and bake until the cake has browned and is firm to the touch— about 20 minutes.
3. While the cake is baking, dust a clean, cotton dish towel with powdered sugar. Set aside.
4. When the cake is baked, cool about 5 minutes. Then, carefully turn the pan upside down onto the sugar-dusted towel, and peel away the parchment paper and discard it.
5. Let the cake cool to room temperature. Spread the Citrus Curd evenly over the surface of the cake to within ¼ inch of the sides. Arrange the raspberries over the curd.
6. Starting at the short end nearest you, carefully roll the cake up, using the towel as a guide. Place the cake on a serving dish and refrigerate.
7. When ready to serve, dust the cake top liberally with powdered sugar. (As an alternative, you can frost the cake with sweetened whipped cream, and garnish with raspberries or citrus slices.) Use a serrated knife to cut the cake crosswise into pieces.

Citrus Curd MAKES 1½ CUPS
1 each small lime, lemon and orange, squeezed to yield ½ cup of juice
½ cup sugar
3 large eggs, lightly beaten with a fork
¼ teaspoon salt
6 tablespoons unsalted butter, cut into bits
1. Combine the citrus juice, sugar, eggs and salt in a 1-quart saucepan, and whisk the ingredients together well. Place the pan over low heat, and whisk until the sugar dissolves.
2. Whisk in the butter, a little at a time, until it is completely dissolved and the mixture thickens enough to coat the back of a spoon.
3. Transfer the curd to a small bowl. Cover, and refrigerate for several hours or for several days.